Introduction to Python
What is Python?
Python is a high-level programming language that is extremely easy to learn and use. It can be applied to many different uses, such as machine learning, automation, web development, and data analysis. It is being taught in CS (computer science) courses and is a popular first language. It’s a language for everyone that you should learn. Whether you’ve already learned a language or not, this article will teach you the basics of Python. Let’s get started!
Installing Python
Go to https://www.python.org and navigate to the “Downloads” menu. Select your operating system. It should like a little something like this:
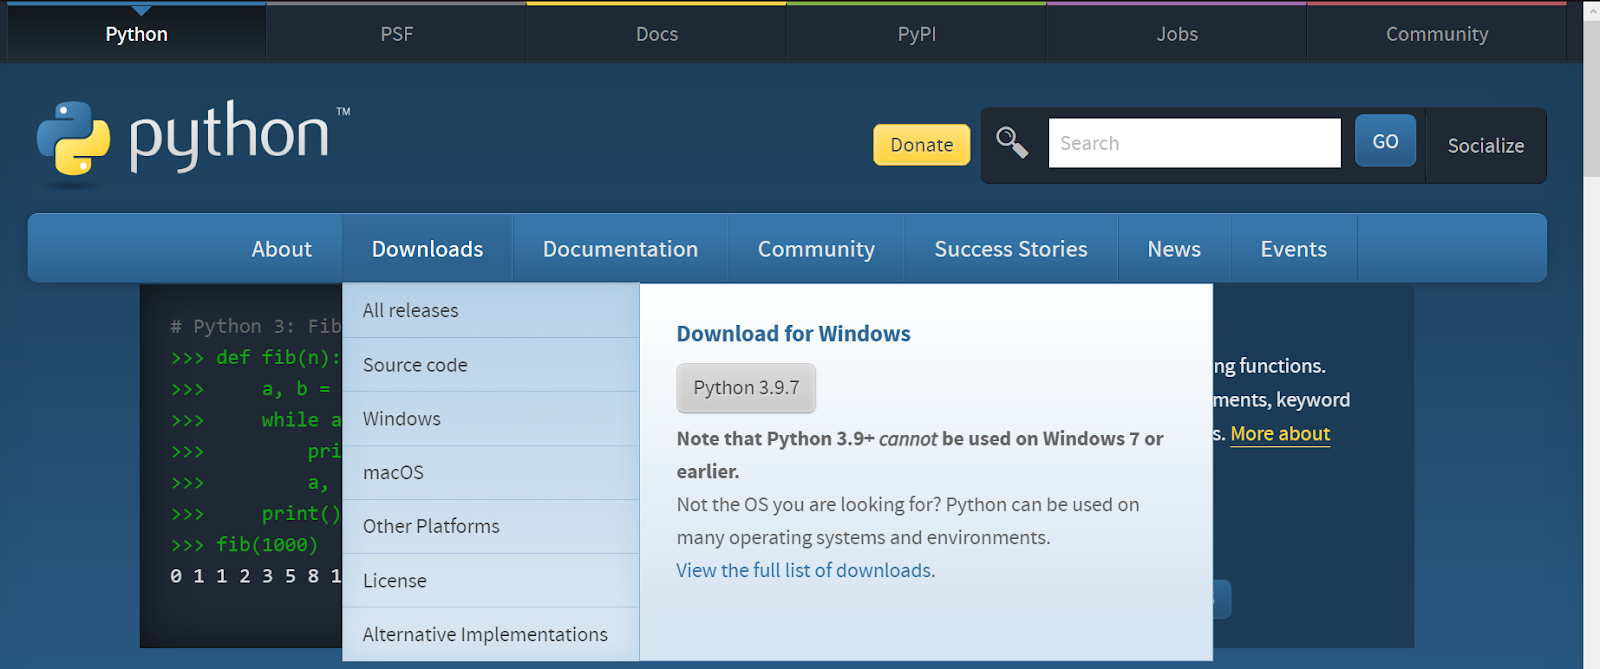
You’ll get to a page titled “Python Releases for [your operating system]”. Choose the latest Python 3 release and click that. Scroll all the way down to the “Files” section and then download whichever installer is suitable for your computer. Download like you would a normal file.
Using Python
Open your computer’s terminal (for Windows, it’s Command Prompt; for Mac, it’s just Terminal) and type python. You should get something like this:

The >>> is where we’ll type code.
Strings and print()
Now it’s time to get coding!
In Python, a string is (surprise!) not sewing material – it is a series of characters. Surrounding these are quotes ( ‘ ) or double quotes ( ” ). Strings can be all kinds of things:
- “My name is Bob”
- ‘123456’
- “The & symbol is called an ampersand”
Now let’s try to put some of these on the console! To get something on the terminal, there is a function called print(). We use this anytime we want to log something, display information, or just show something for us, the developer, on our console. Anything inside the parentheses will be printed onto the terminal!
> Can you print the phrase “Hello world”?
So, after the three >>> on the console, let’s type print(“Hello world”)

Perfect!
Additional Things to Know About Strings
One thing you can’t do is put quotes inside quotes. For example:
- “The & symbol is called an “ampersand””
This will give you an error because the computer thinks that “The & symbol is called an ” is one string, and the remaining ampersand”” does not make sense to the computer. One way to avoid this is using the two different kinds of quotes:
- ‘The & symbol is called an “ampersand”‘
This will give a valid output!
Another way to avoid this is by using the \ character. This tells the computer to basically ignore the character after it. For example:
- “The & symbol is called an \”ampersand\””
Here, the two backslashes tell the computer to ignore the double quotes, allowing the computer to give a valid output!
There’s also something called concatenation, which puts two strings together.
Let’s say you wanted to say “My name is Bob”. You could make that one string, or you could use “My name is ” + “Bob”.
> Try to print it on your console!
If you print(“My name is Bob”) and then print(“My name is ” + “Bob”), you’ll notice they’re the same thing!

This may not seem particularly useful now, but you’ll see why concatenation is important later.
Next, let’s learn about data types, which strings are just a part of.
Data Types
In Python, there are many different types of data types to give the computer. Here are the ones to know right now:
- Strings, aka str, are text. You just learned about them!
- Integers, aka int, are whole numbers, like 5, -1, or 999.
- Floats, aka float, are decimals, like 0.1, -0.02, or 0.0001.
- Booleans, aka bool, are either True or False.
To get which data type something belongs in, use type().
> Can you try to come up with some examples of each data type, then make sure you were right using type()?
Here are some examples:
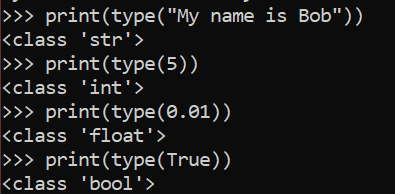
Common Error: Make sure to use your parentheses! The type() function goes inside the print() function, and both have parentheses. Make sure you close out your parentheses and keep track of them, especially when you have several things going on at once later on. This is a good habit to have and ensures you don’t run into any errors!
Now, let’s learn about the heart of Python – variables.
Variables
In Python, variables are easy to use. Simply assign a value to a label. For example, let’s say we wanted to store the name Bob. We’d put:

Common Error: Each variable label has to be assigned to one of our data types. If you put name = Bob, the computer thinks Bob is also a variable and gives you an error:
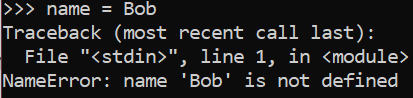
As you can see, the error is that the variable (Bob) is not defined. So make sure to use your data types!
Now you can use the print() function again to print your name by putting the variable label inside the parentheses.
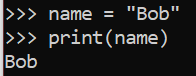
Success!
You can assign variables to any of our data types.
> Can you print your age using a variable?
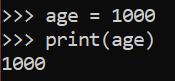
Of course, I’m not actually 10 centuries old.
Visual Studio Code
The built-in terminal of your computer works fine, but it won’t do in the long term. We should use an IDE (Integrated development environment), which is basically just a place to write code. One excellent IDE is Visual Studio Code (VSCode). Let’s download it!
Go to https://code.visualstudio.com and follow the instructions to download it. If you still have trouble, find some YouTube videos to help you install.
Once installed, you should get something like this:
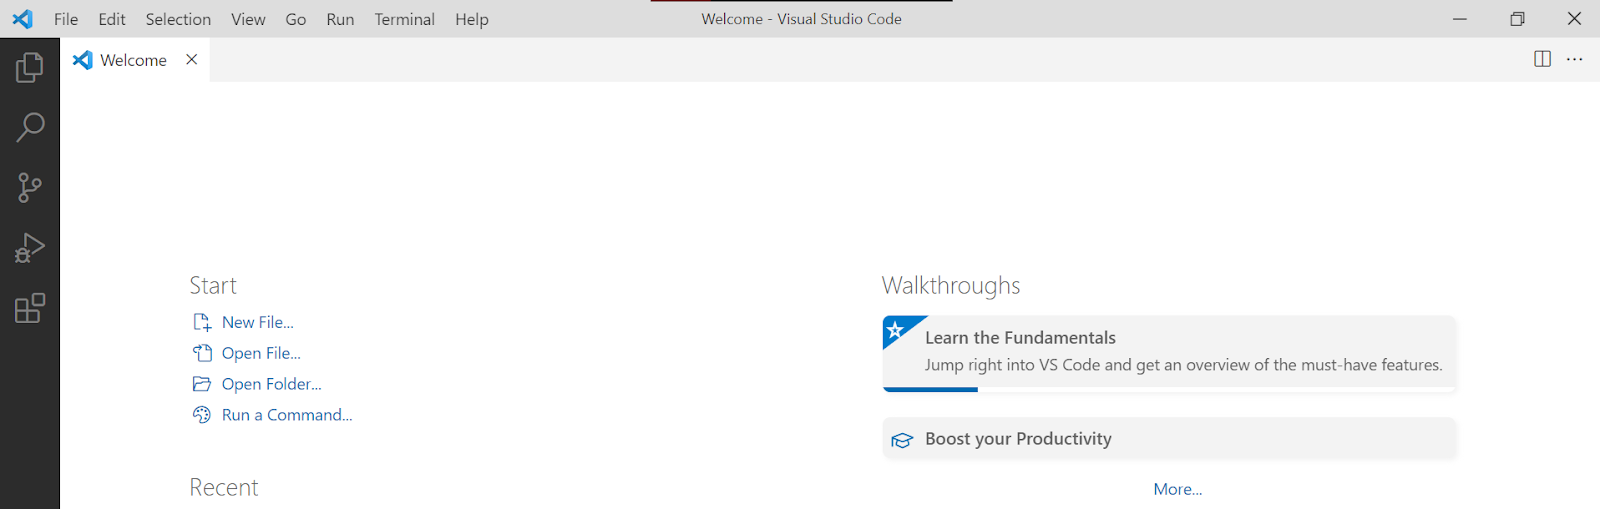
On the top menu, click File, then New File. (Alternatively, Ctrl+N.) You’ll get a screen like this:
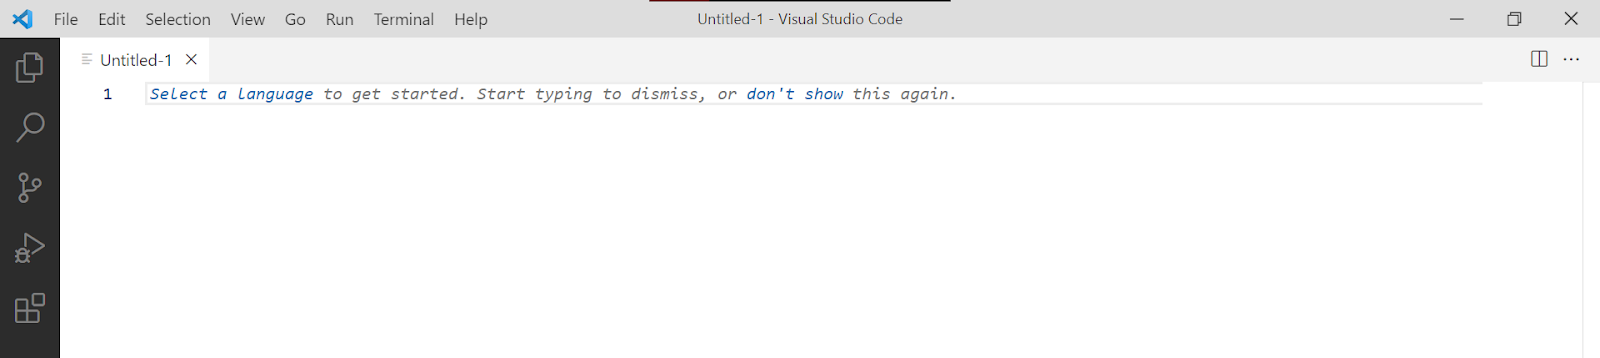
Click the blue “Select a language”, which’ll open a menu:
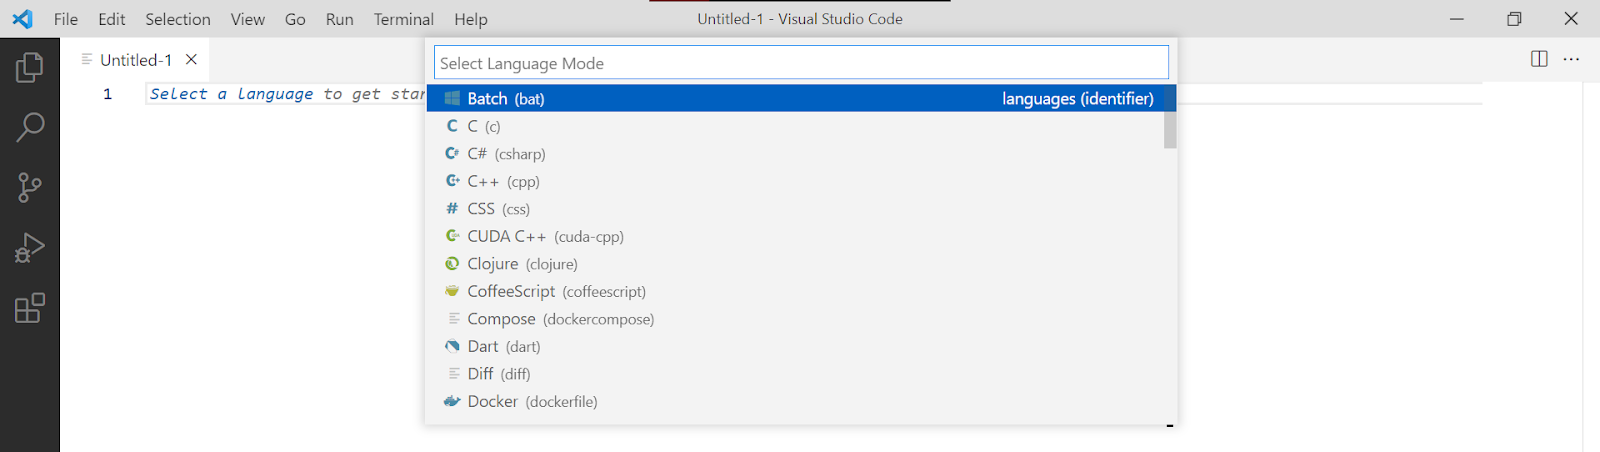
Type “Python” into that menu, enter, and we’ve got ourselves a Python file! Something like this will pop up:
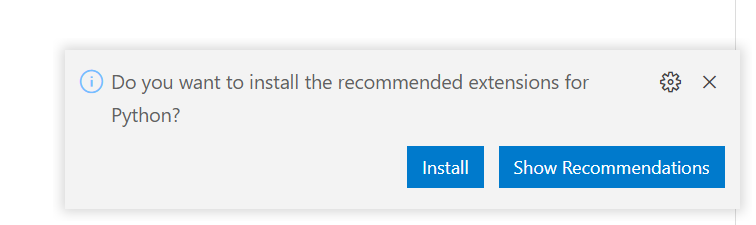
Click “Install.” It’s recommended to get these extensions.
Now let’s get coding! Type print(“Hello world”) into the window.
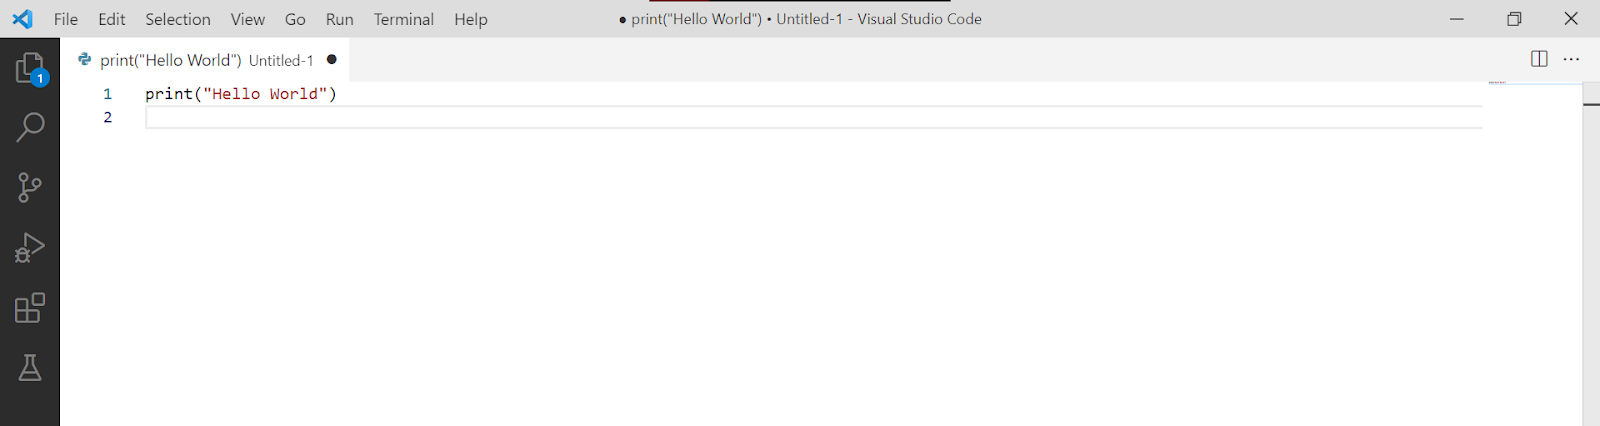
Then save it in your preferred location on your computer. The shortcut is Ctrl+S.
On the top menu again, click Run, then Run Without Debugging. The shortcut for that is Ctrl+F5. A terminal will pop up and print out Hello World!
Summary
Today, we’ve reviewed how to install Python, how to use the print() function to print something onto a console, the different types of data types, and how to use variables. We moved on to IDEs such as VS Code and are prepared to jump into more fluid, advanced, and useful Python programming. I hope you enjoyed this article. See you in the next one as we continue our Python journey!